
How to Set Up the Client Portal
The client portal is a client-side interface that houses courses, communities and the affiliate feature in FG Funnels. With one login, your students can access all of their courses, groups and affiliate information. You can use a branded domain or subdomain to align it to your brand and make it memorable.
In this Article:
- How to Set Up Your Client Portal
- Branding Your Client Portal
- Invite Clients to Your Client Portal
- FAQs
- Q1: I've branded my client portal, but the changes aren't showing up. What could be the issue?
- Q2: My affiliates are having trouble accessing their stats on the client portal. What should I do?
- Q3: I've set up the DNS records for my client portal correctly, but it is not accessible. Why?
- Q4: I want to customize the favicon for my client portal, but it's not uploading. What's the ideal format and size for the favicon?
How to Set Up Your Client Portal
Each FG Funnels account has their client portal system automatically created on a dedicated subdomain of clientclub.net. However, each account is able to personalize its portal by selecting a unique custom domain. This customization allows accounts to reinforce their branding and enhance their client's familiarity with the platform.
Full instructions on configuring a custom domain for the Client Portal are located in the article, Client Portal | How to Connect Your Custom Domain / Subdomain
Branding Your Client Portal
There are some branding settings to allow you to easily customize the look of your client portal.
If your FG Funnels account was created after June 21st, 2023, the Client Portal login page is also your default Membership login page. Follow the video below to learn how to customize this page.
If your account was created prior to that date, you will have both the OG Membership login page and Client Portal pages available in your account. Follow the video below if you have connected your membership domain under Sites > Client Portal > Domain.
CSS Code for removing the portal name, portal description, and logo from the login screen:

/*Hides Portal Name and Description*/
div.w-3\/4 > .text-5xl,
div.w-3\/4 > .my-4,
div.w-3\/4 > .mb-10 {
  display: none !important;
}
Access the Client Portal Section: Start by navigating to the client portal section within your account under Sites -> Client Portal -> Settings -> Branding.
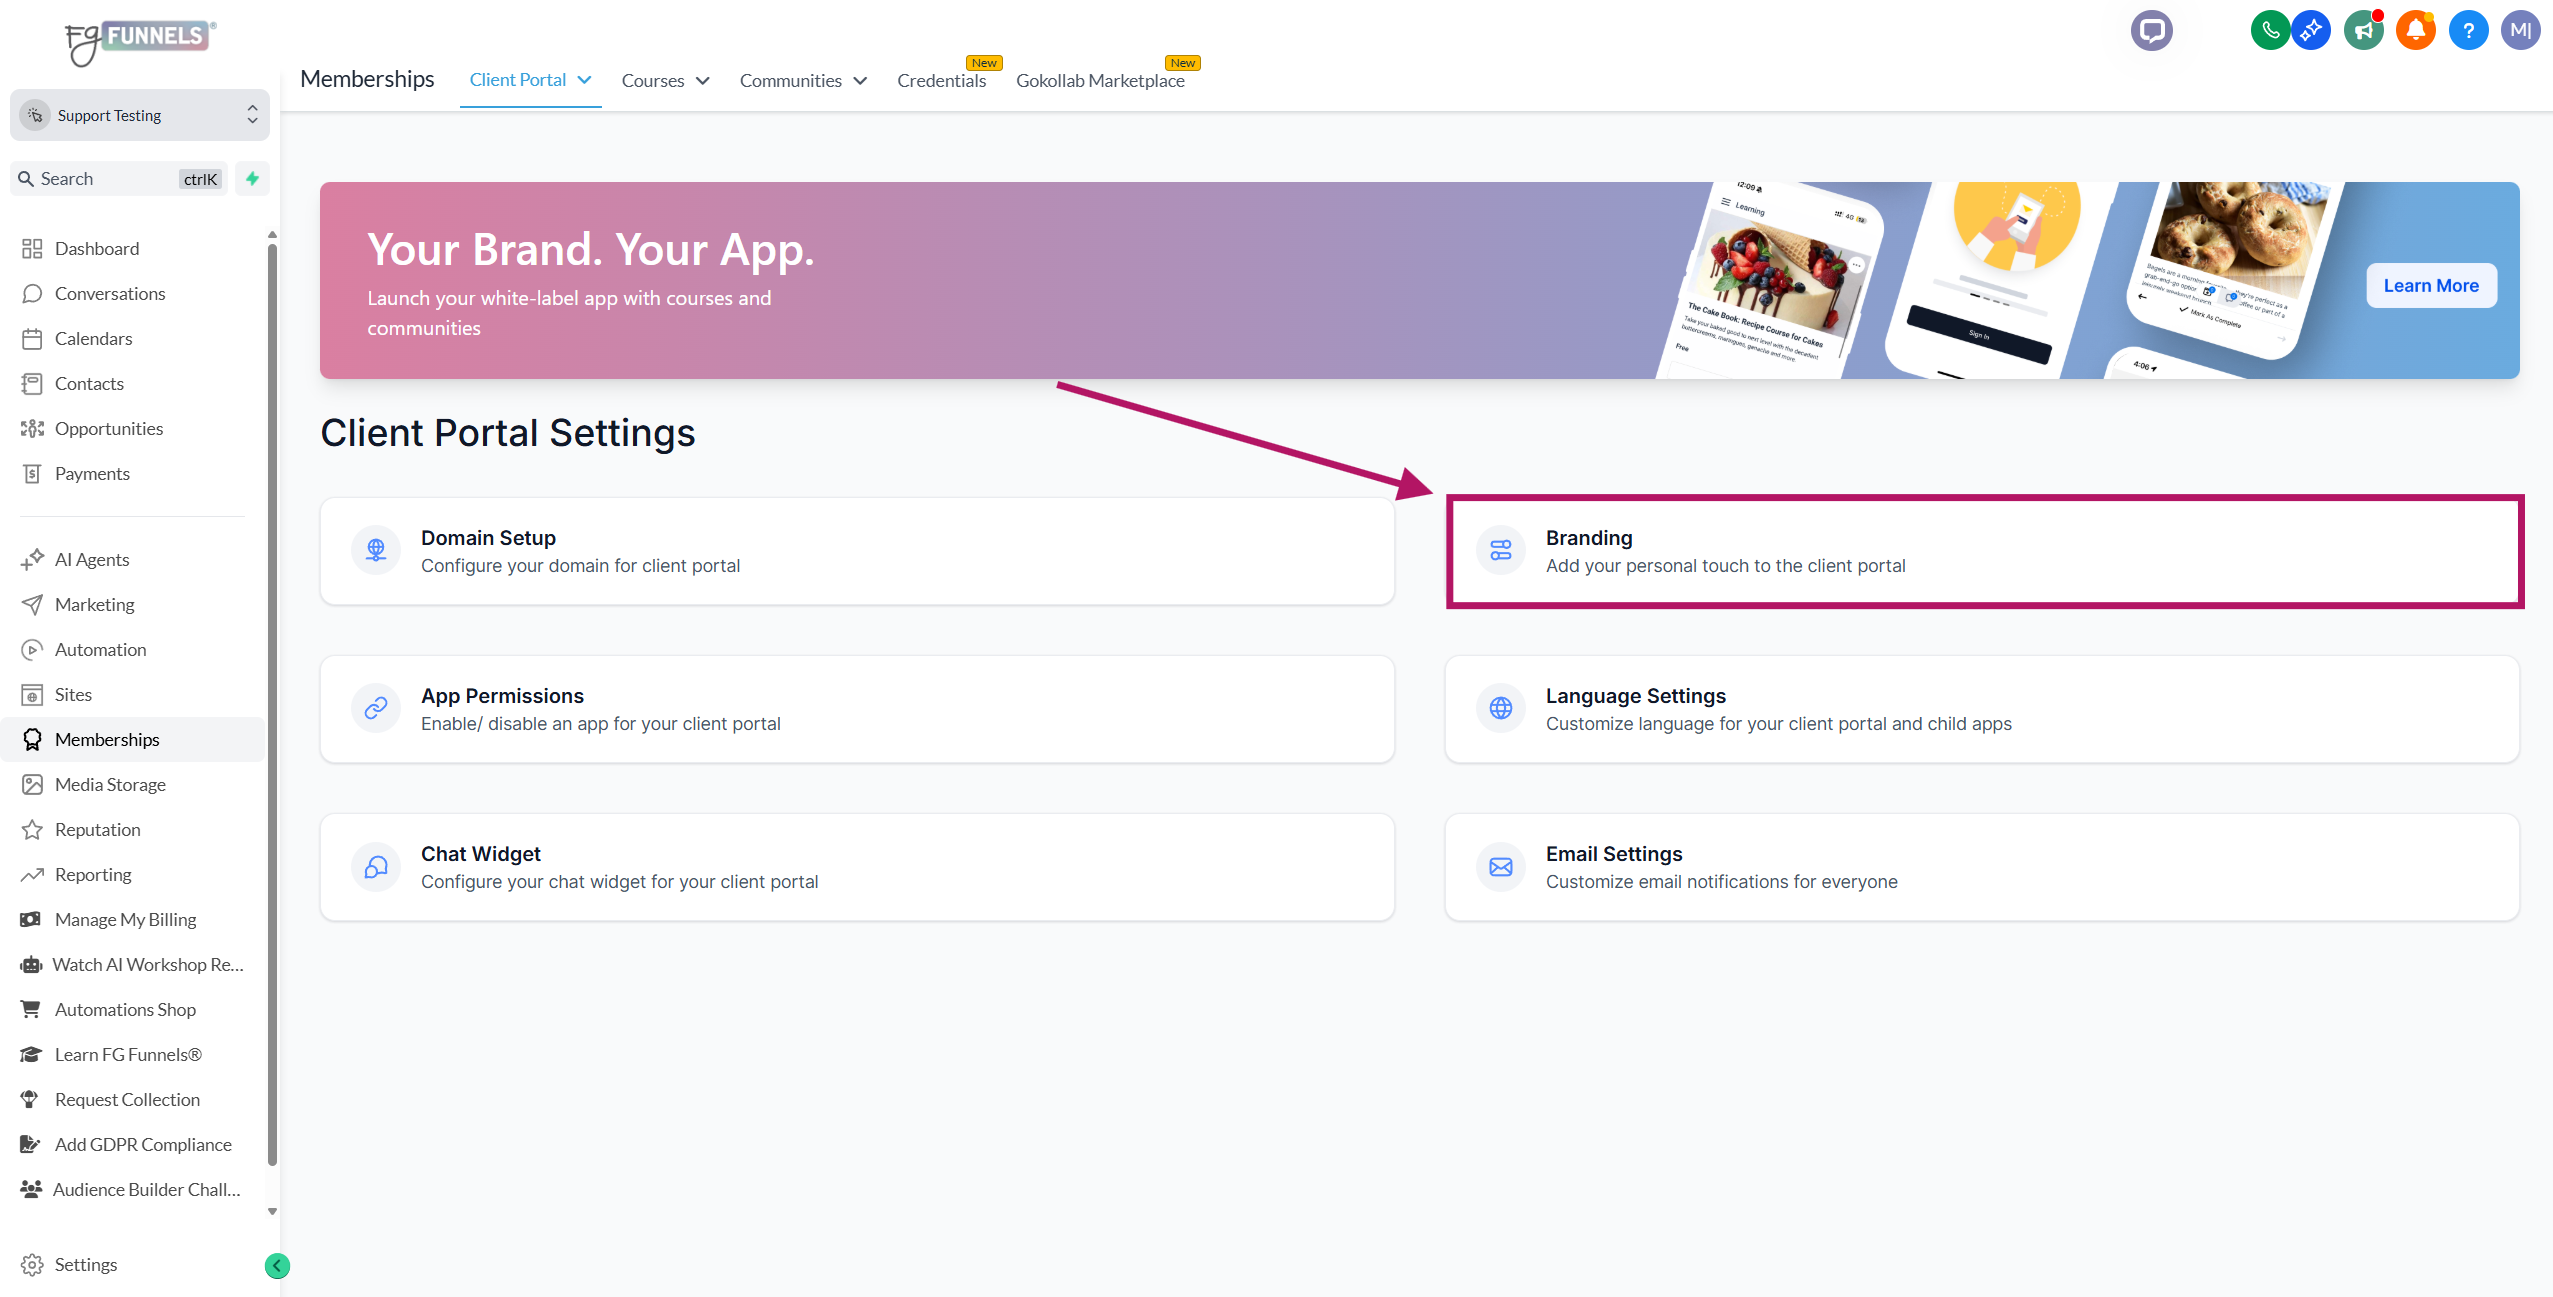
Customize the Portal's Appearance: Within the "Branding" section, you can customize the look and feel of your client portal. The circled i icon next to the name of each feature on the branding page gives information on where this item will show.
Here are the options available:
- Portal Name: Enter a name for your portal. This is the name that will be displayed prominently on your portal.
-
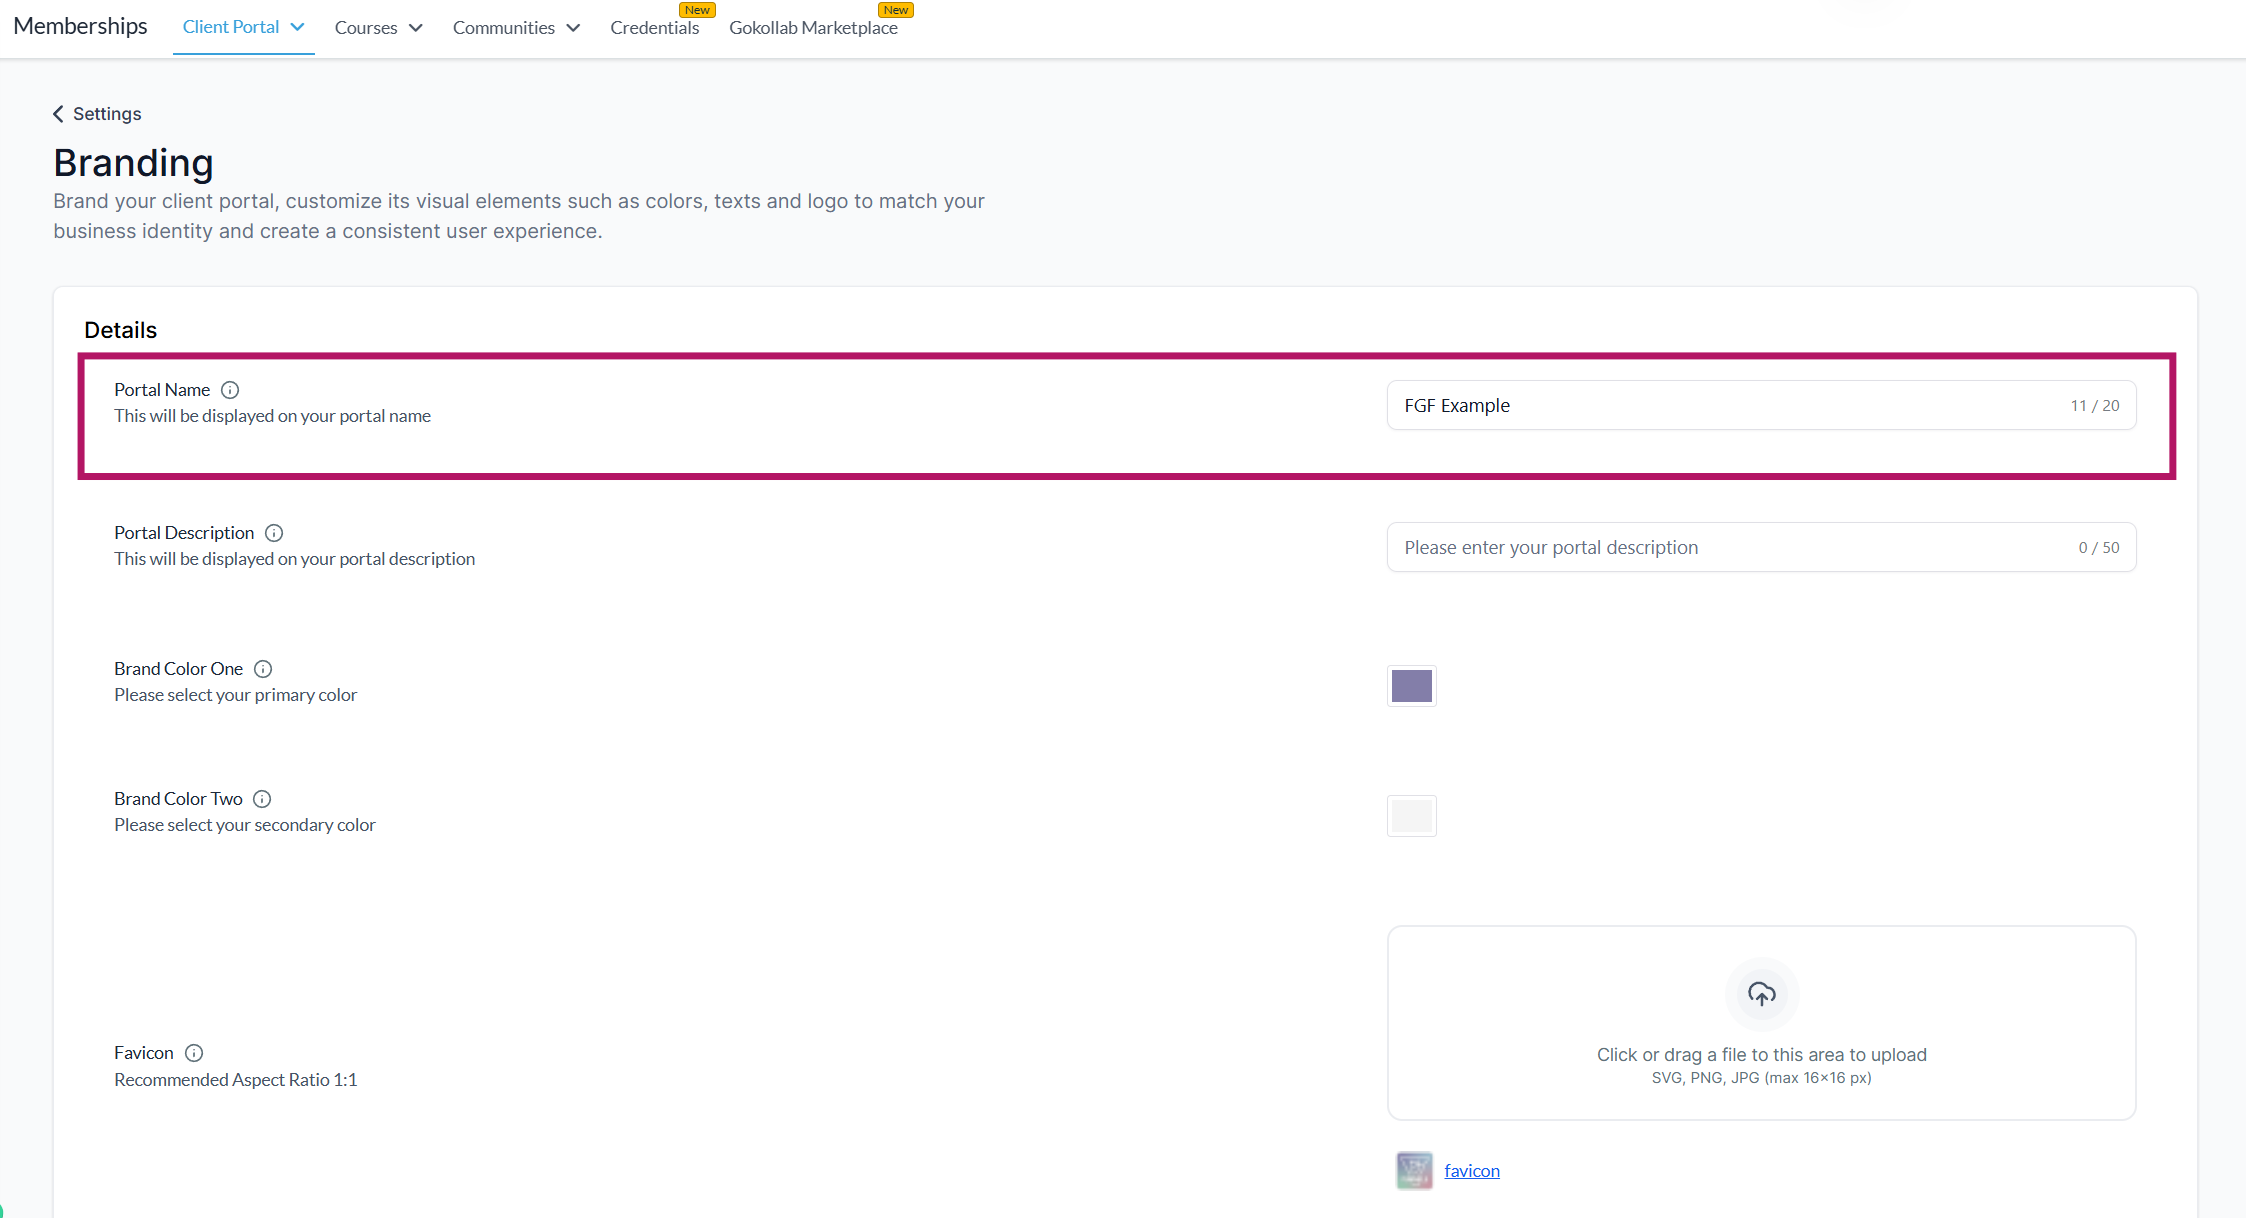
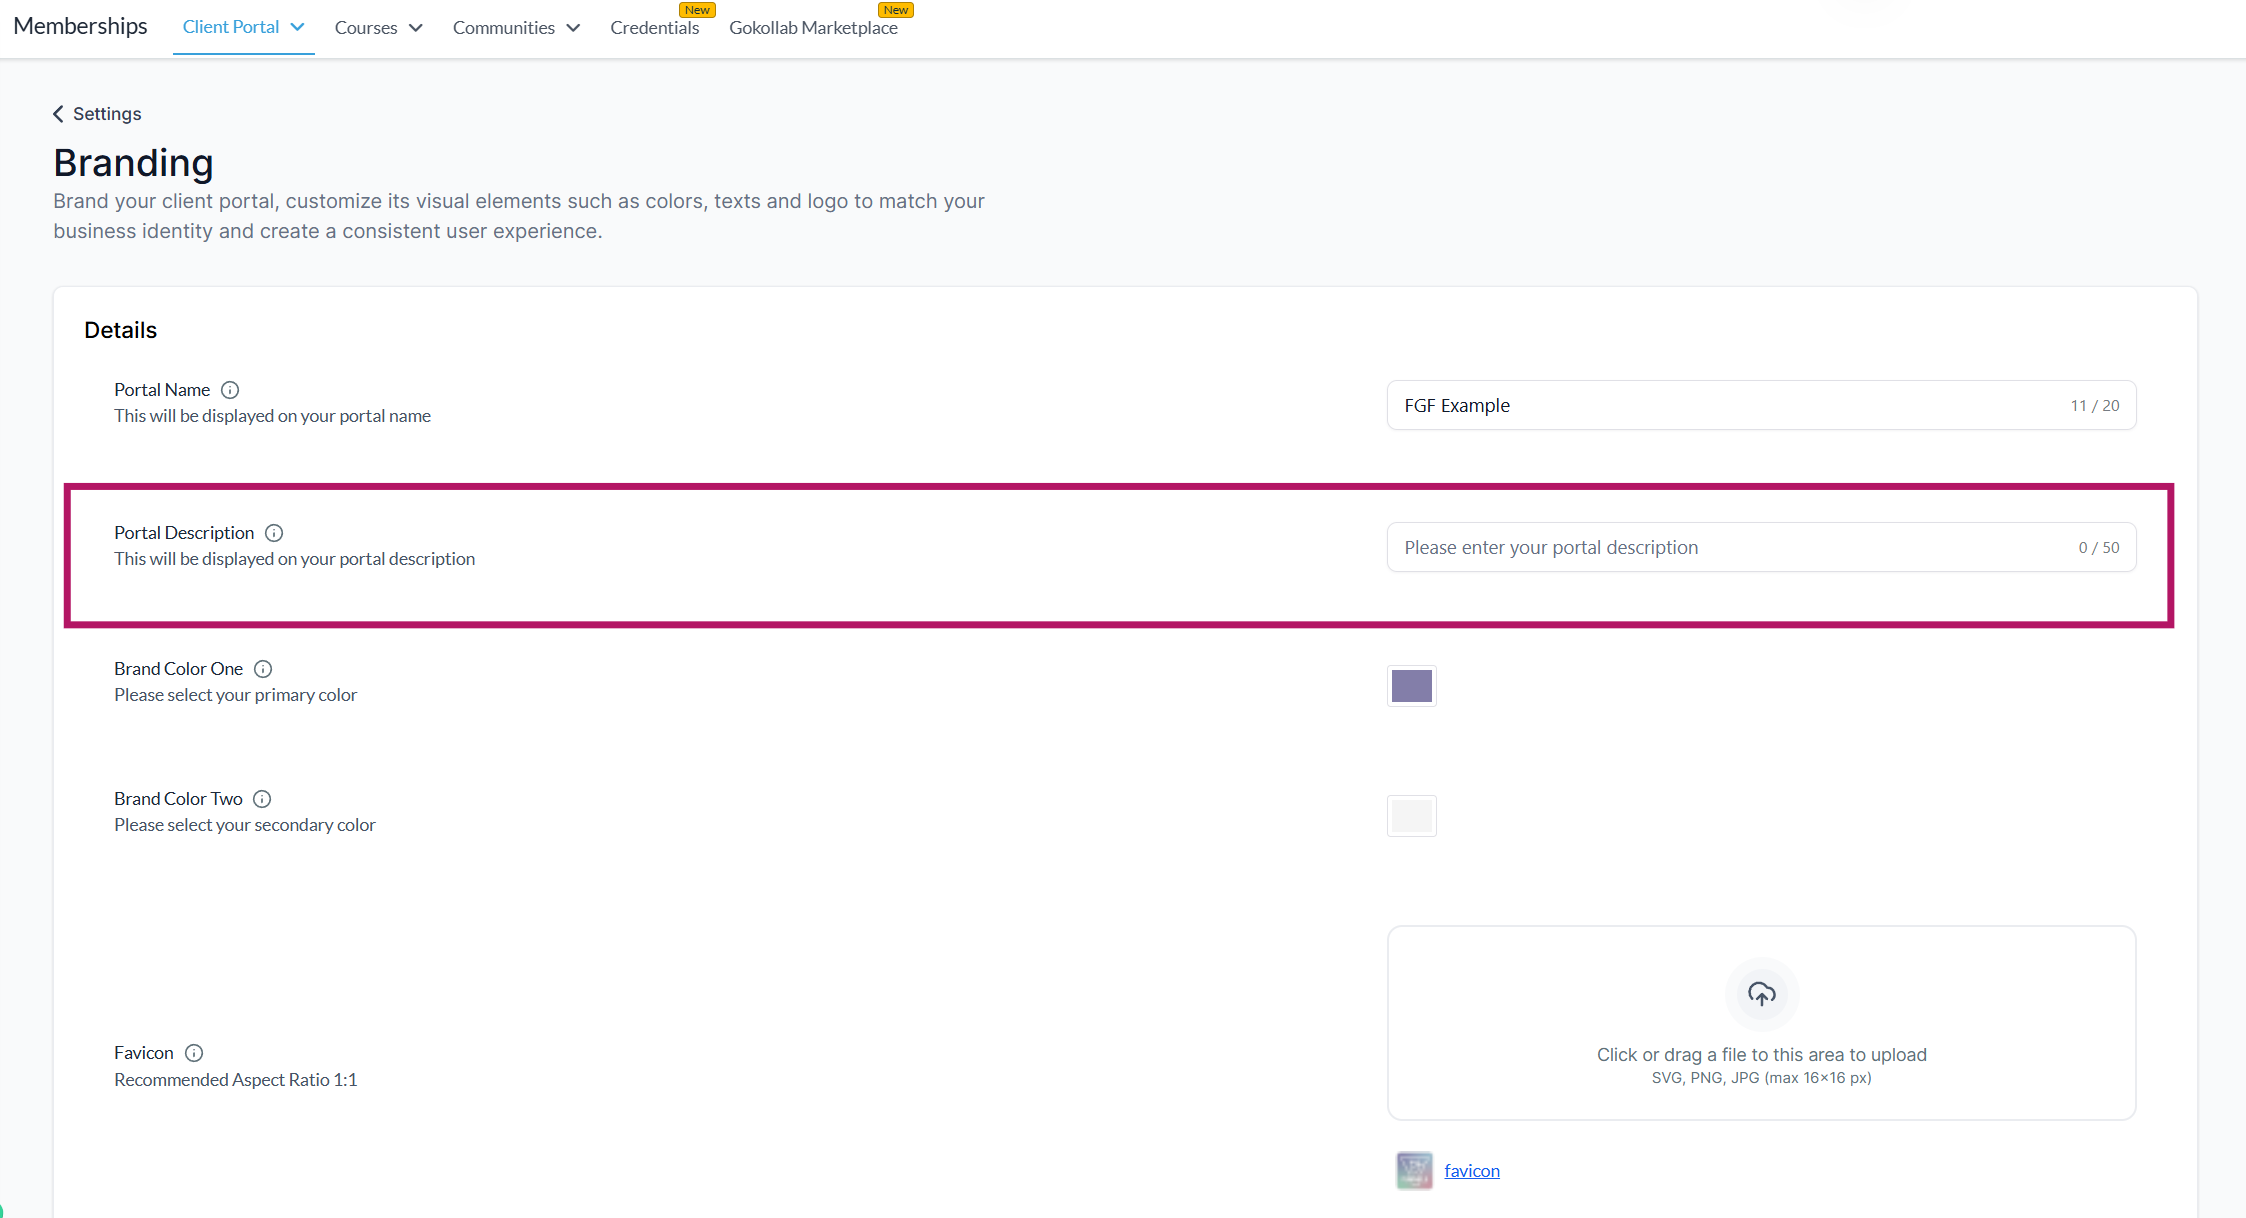
Portal Description: Add a description for your portal. This description will be visible to your clients and should briefly describe your portal or its services.
-
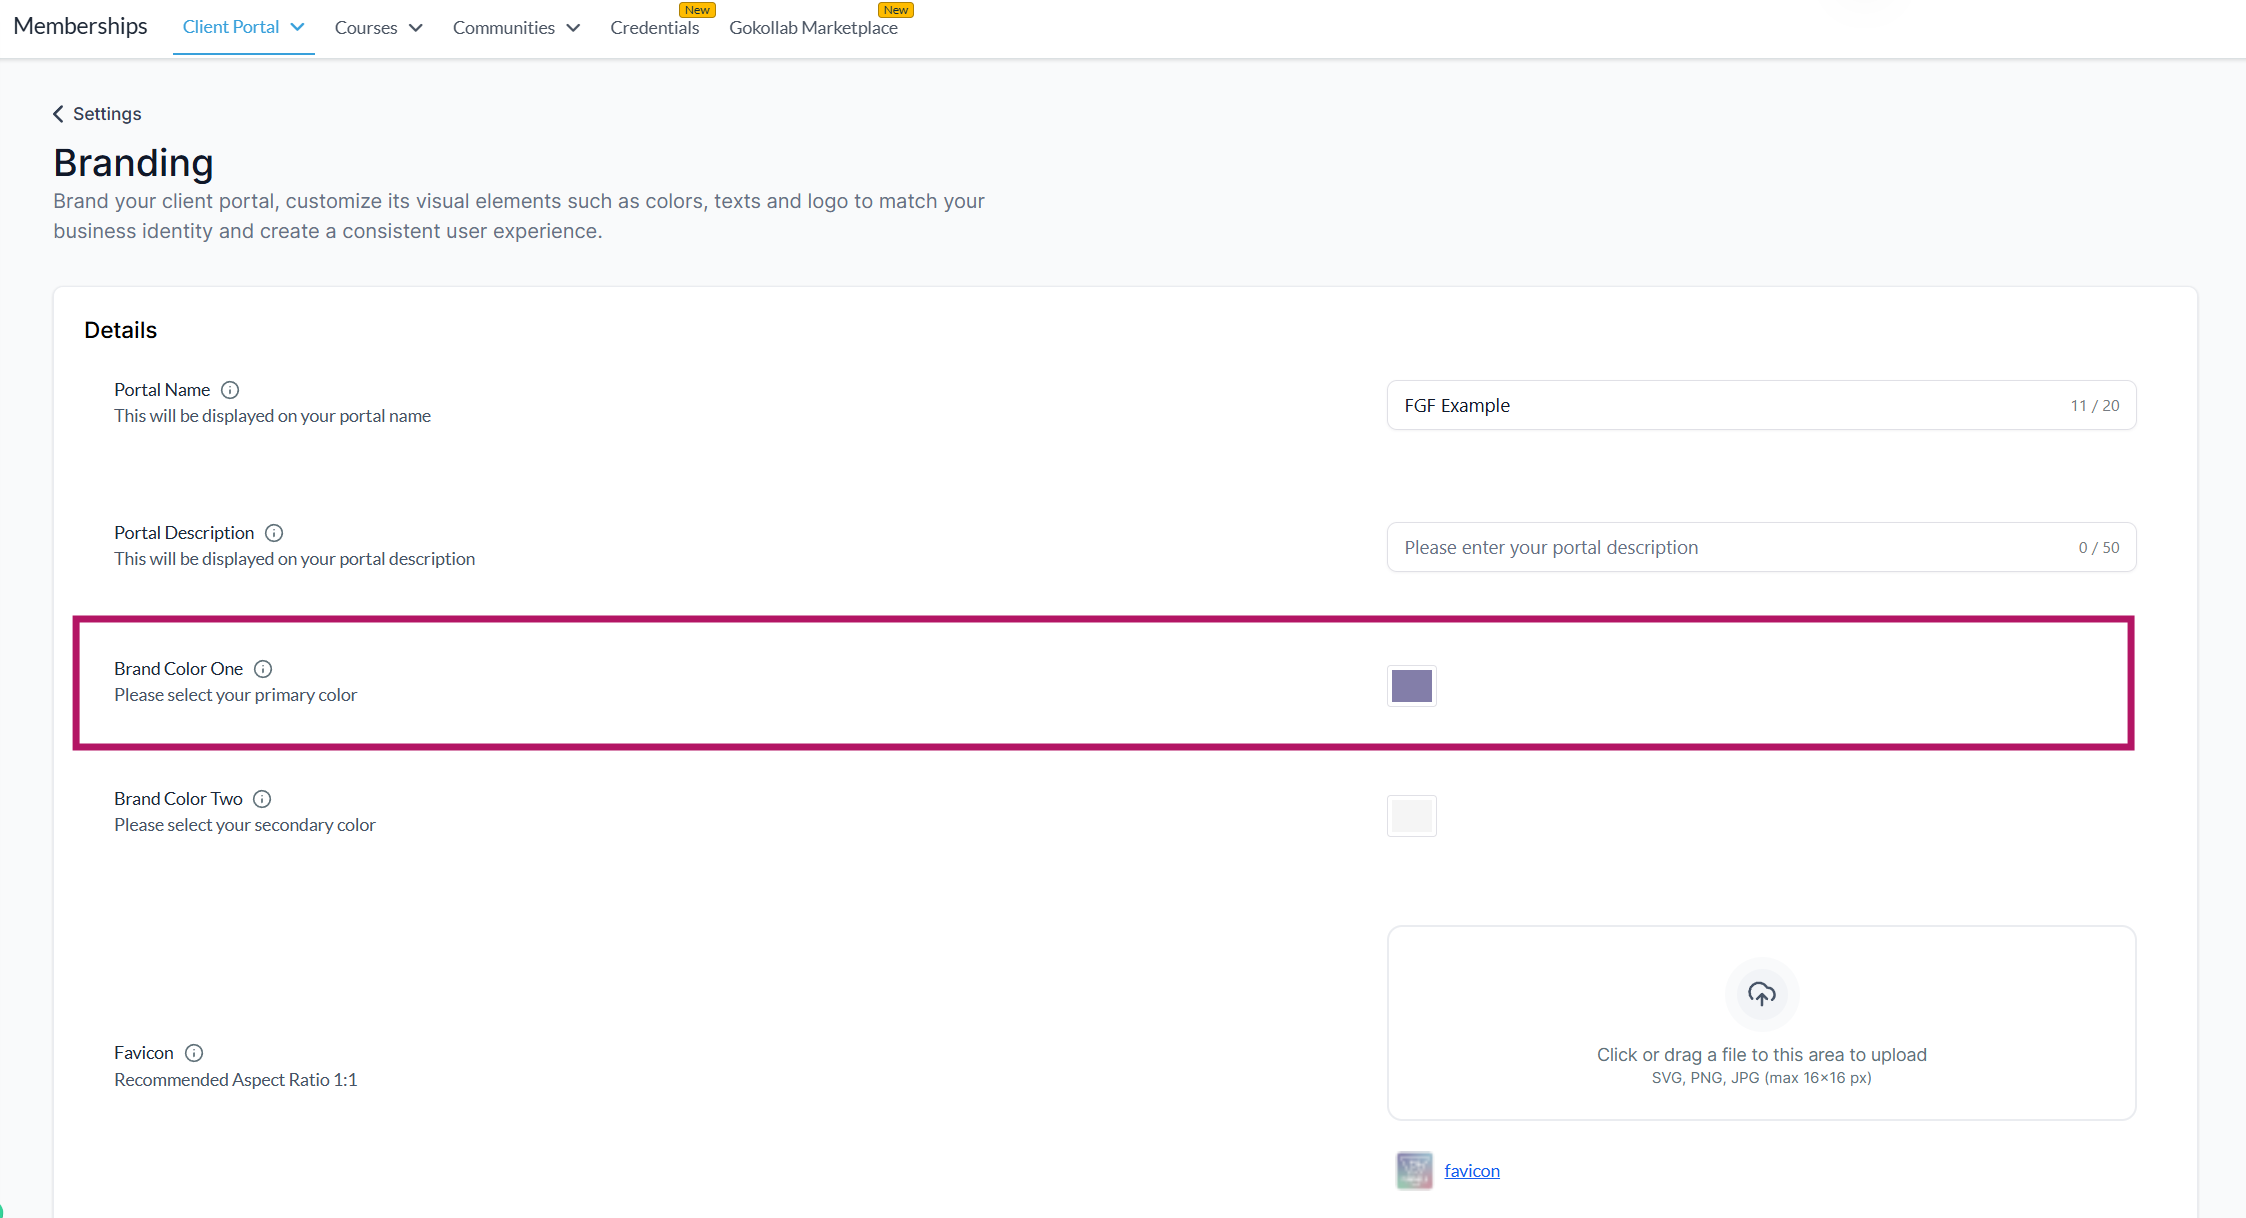
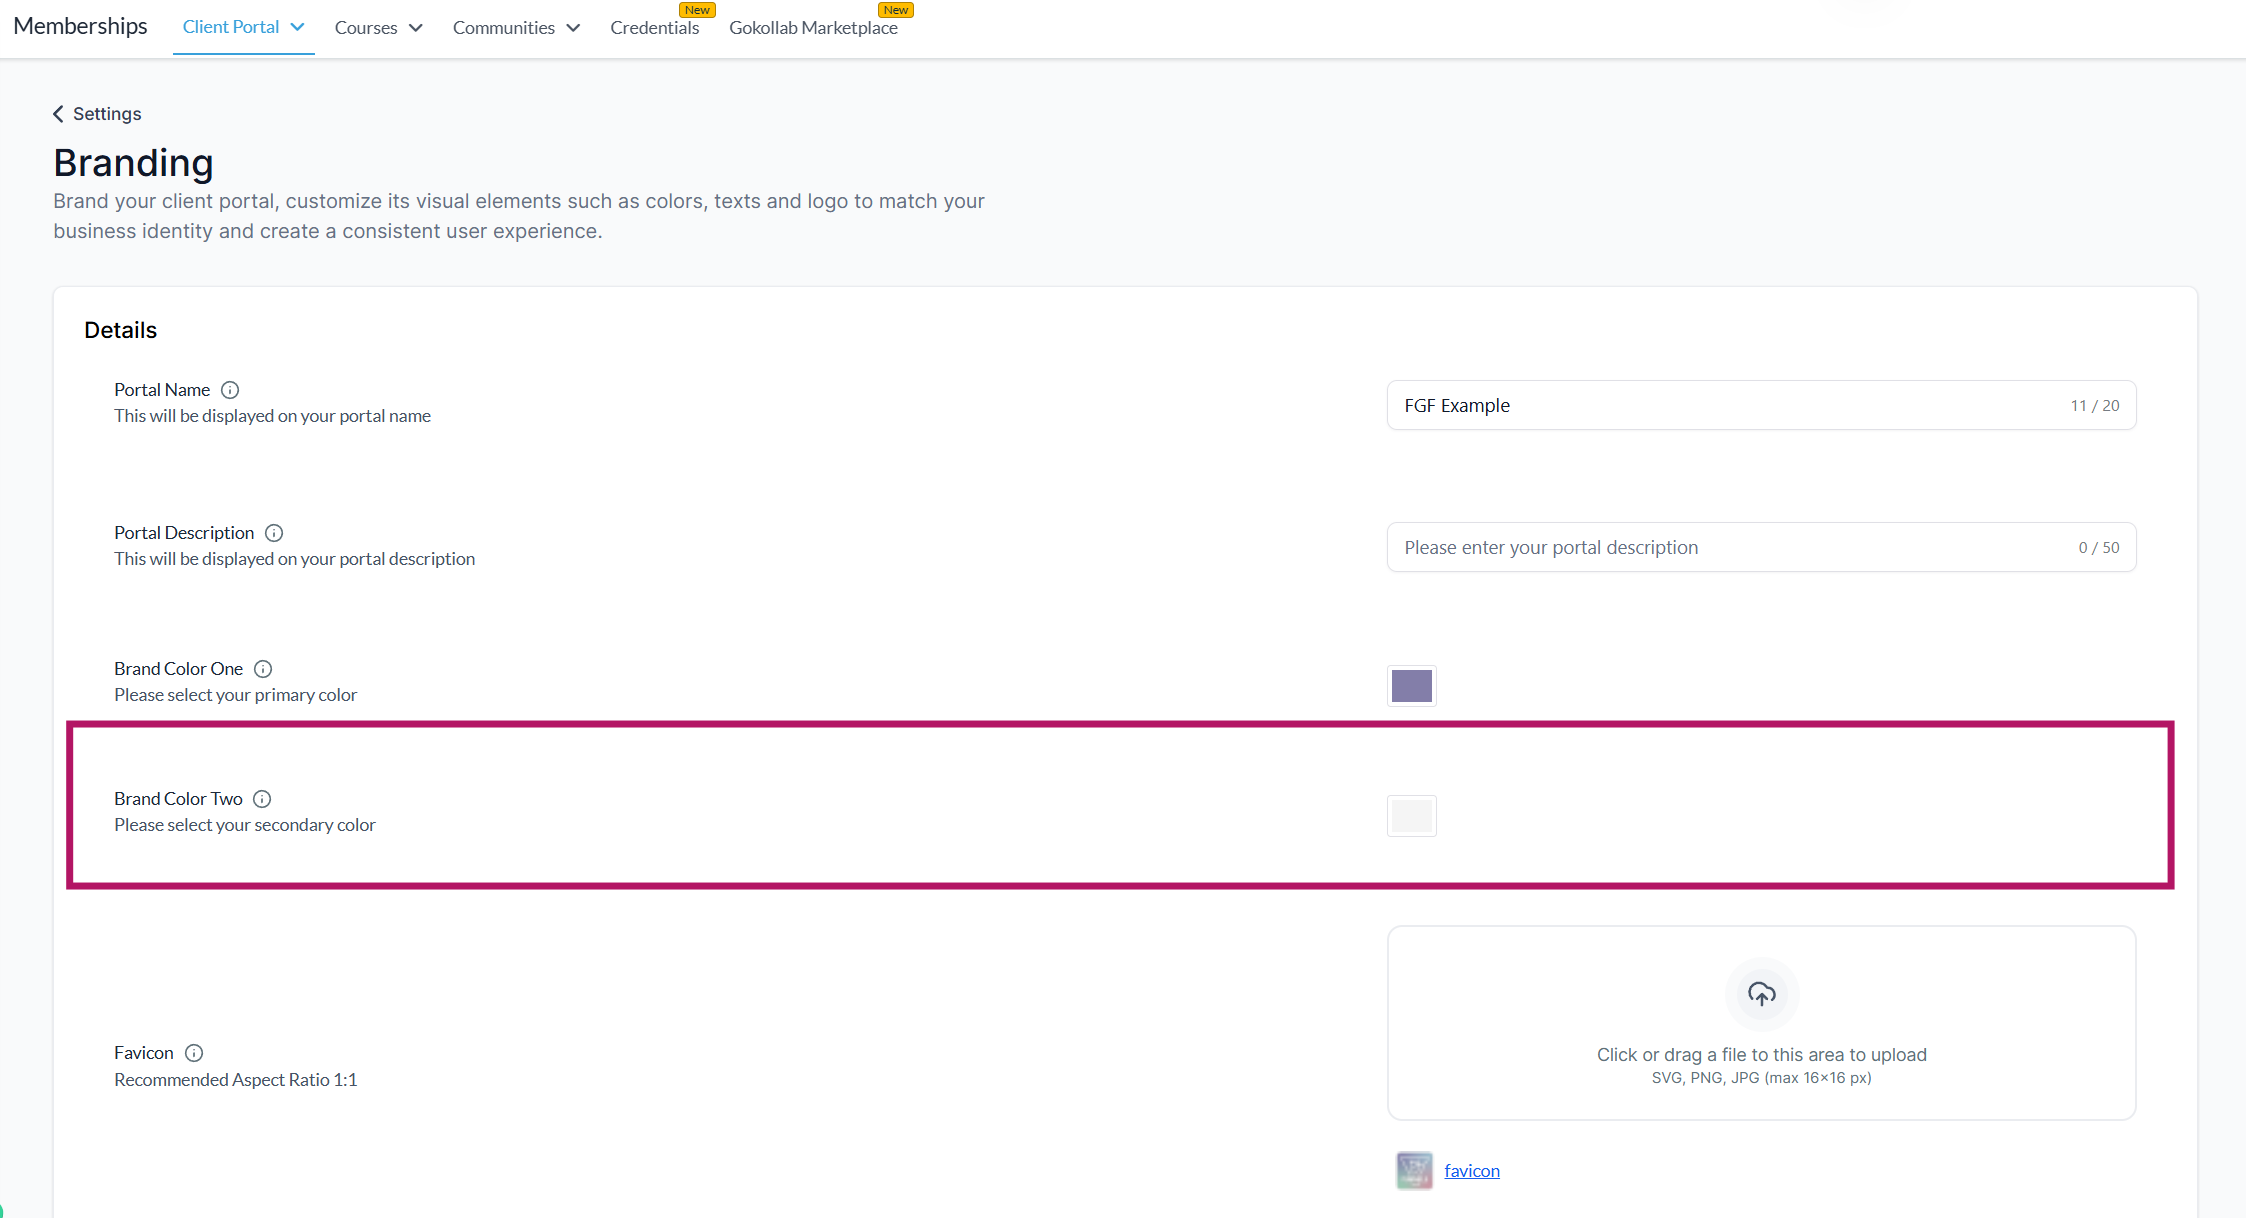
Brand Color One: Choose the primary color to represent your brand in the portal. This color is often used for buttons, headings, or highlights.
-
Brand Color Two: Choose a secondary color to complement your primary color. This adds depth and variety to your portal's color scheme.
-
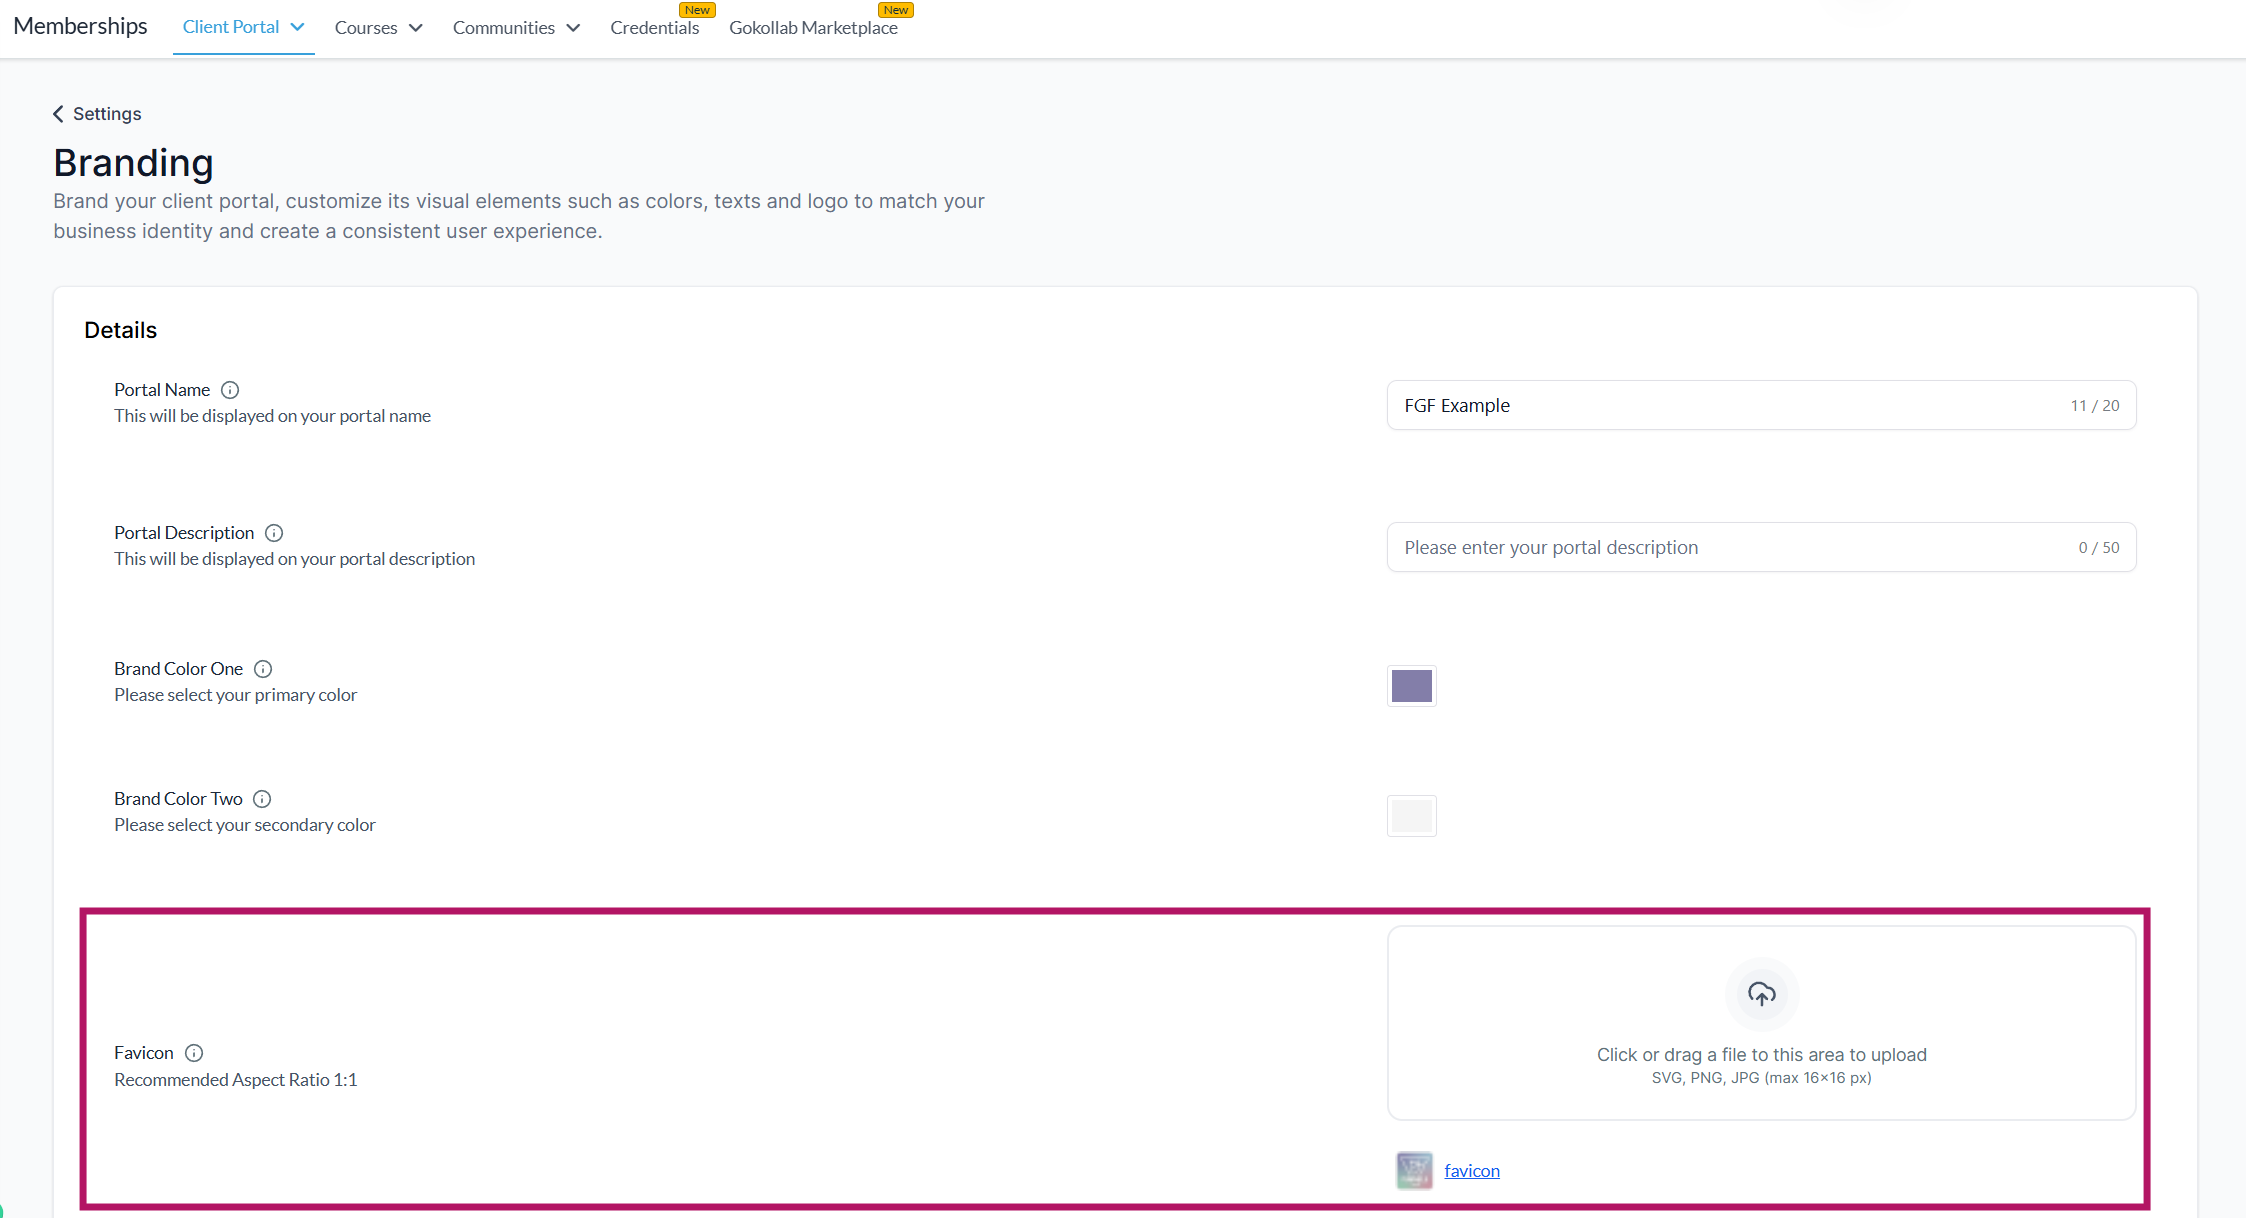
Favicon: Upload a favicon for your portal. Favicons are small icons that appear in the tab of a browser when your website is open. They should ideally be in a 1:1 aspect ratio, in SVG, PNG, or JPG format, with maximum dimensions of 16x16 pixels.
-
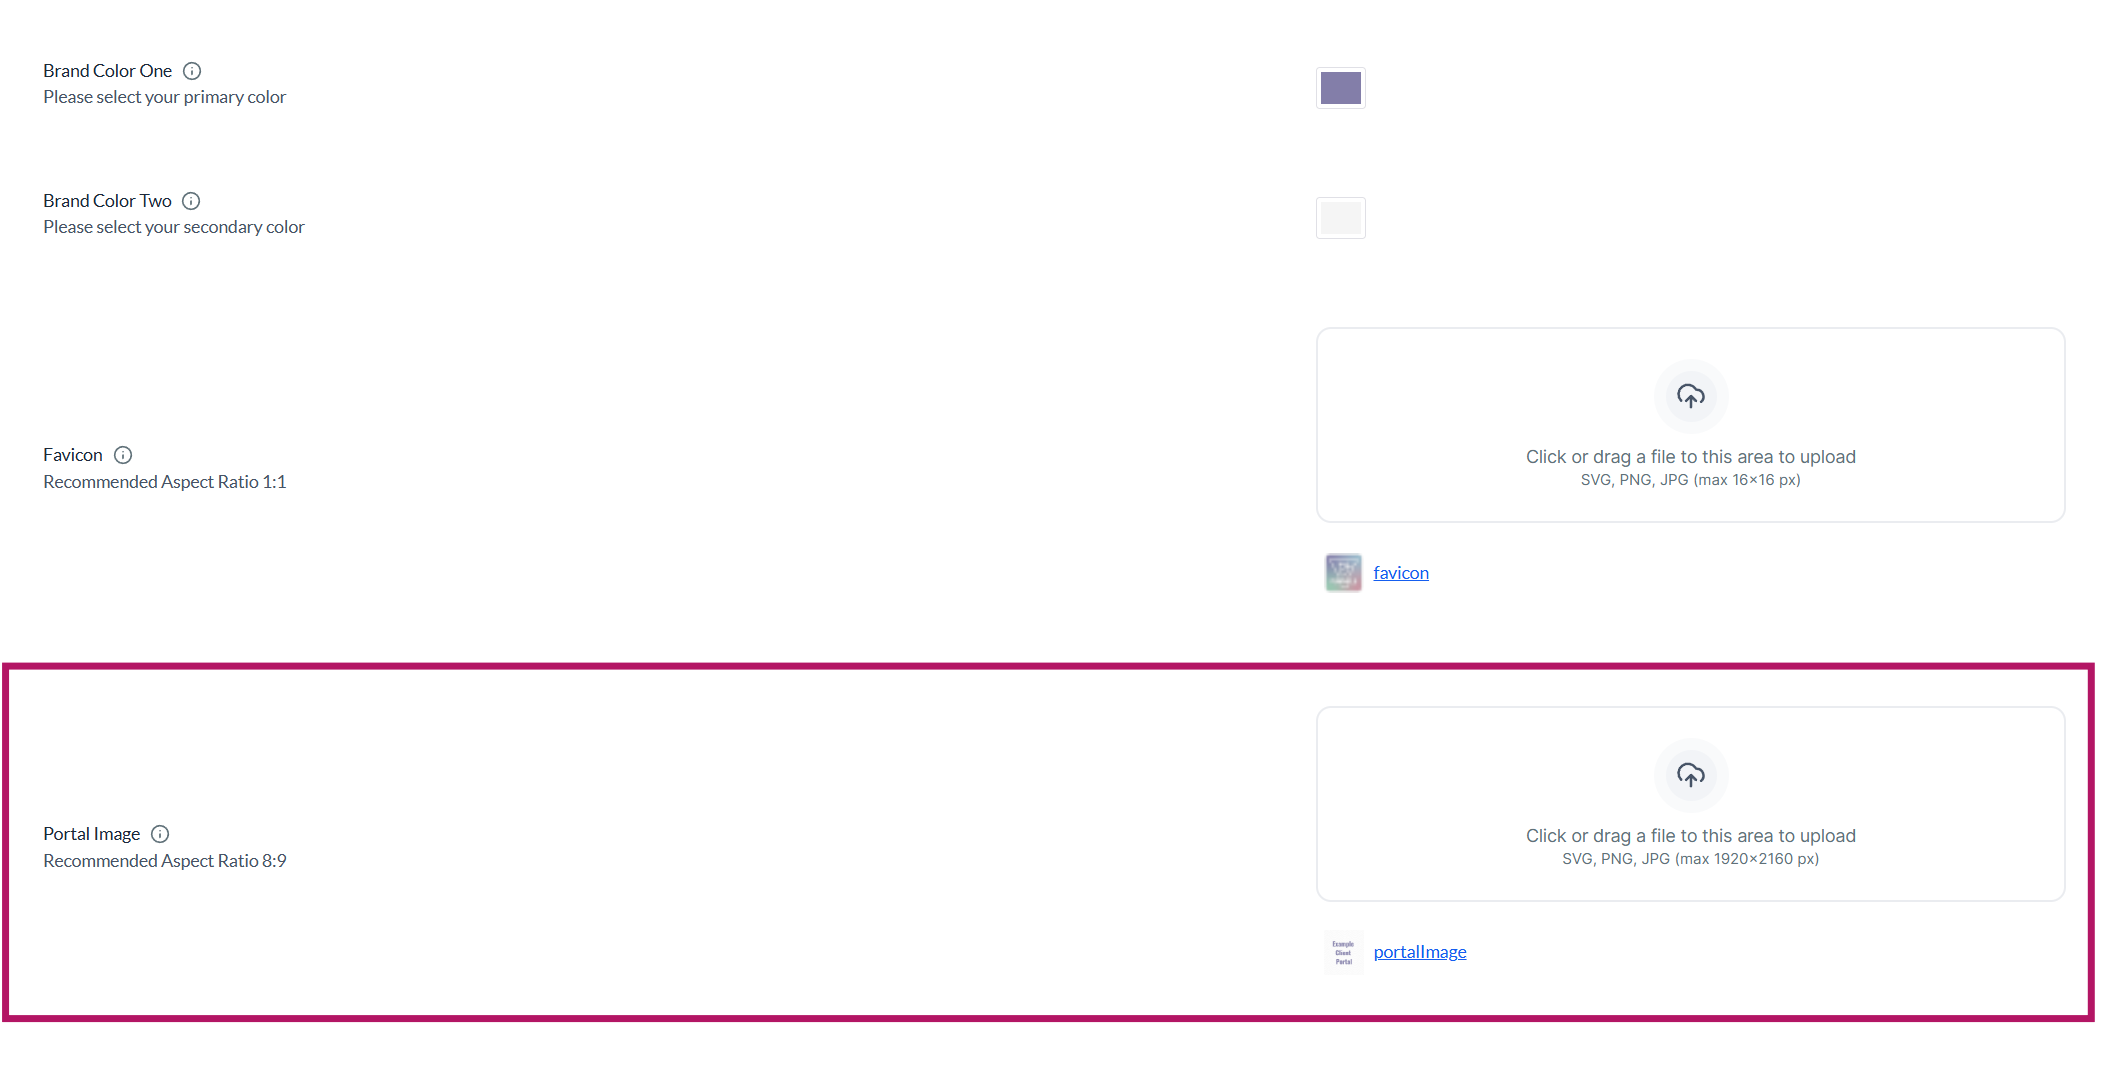
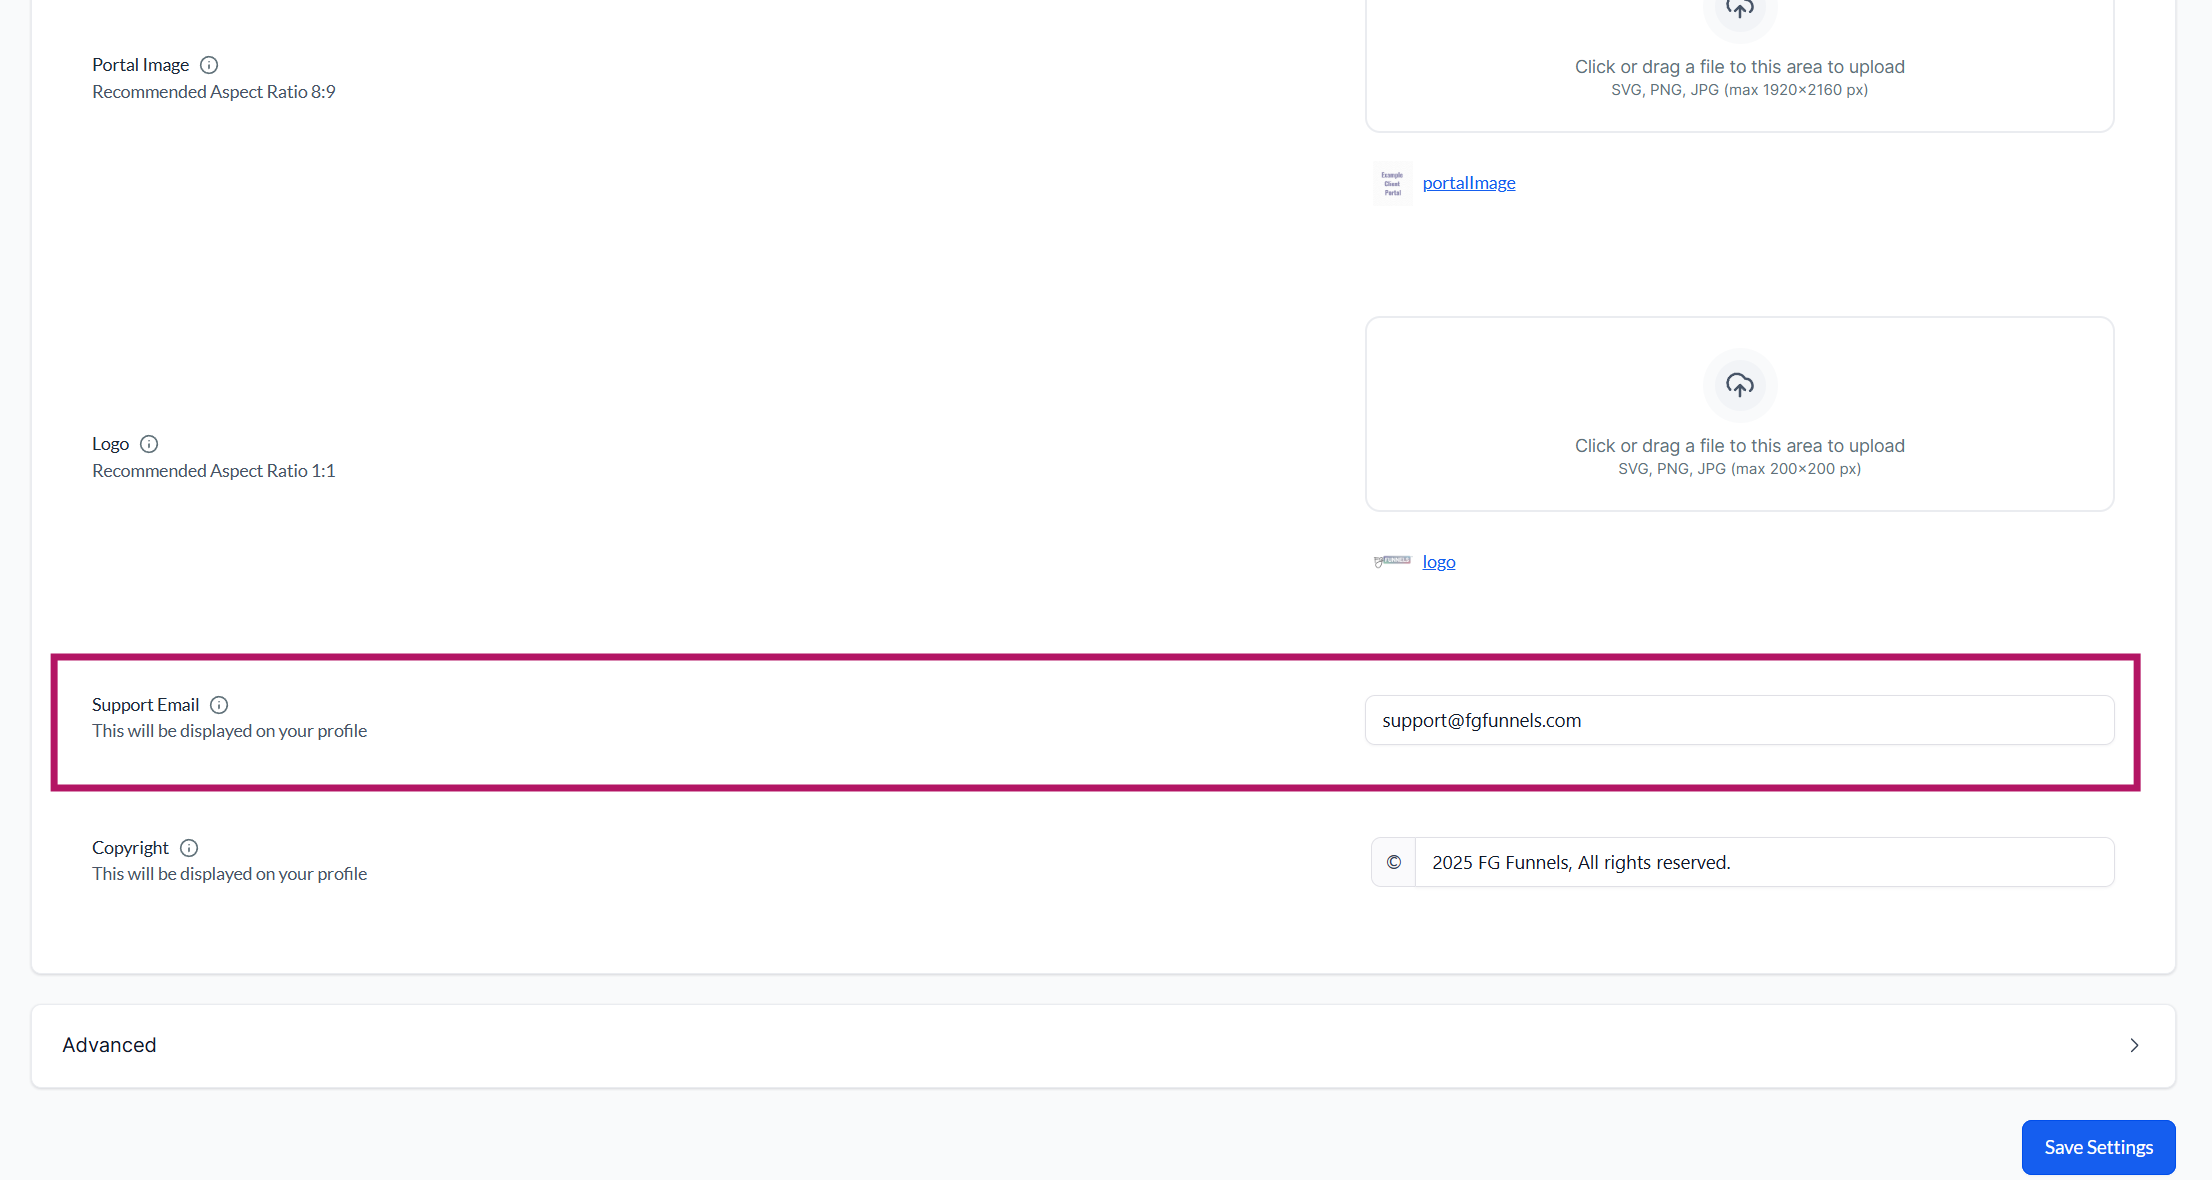
Portal Image: The "Portal Image" section in the Client Portal allows you to upload your brand's square (8:9 aspect ratio) image in SVG, PNG, or JPG formats. The image dimensions should not exceed 1920x2160 pixels. Portal image shows up on the right section where users sign up/ sign in to your portal.
-
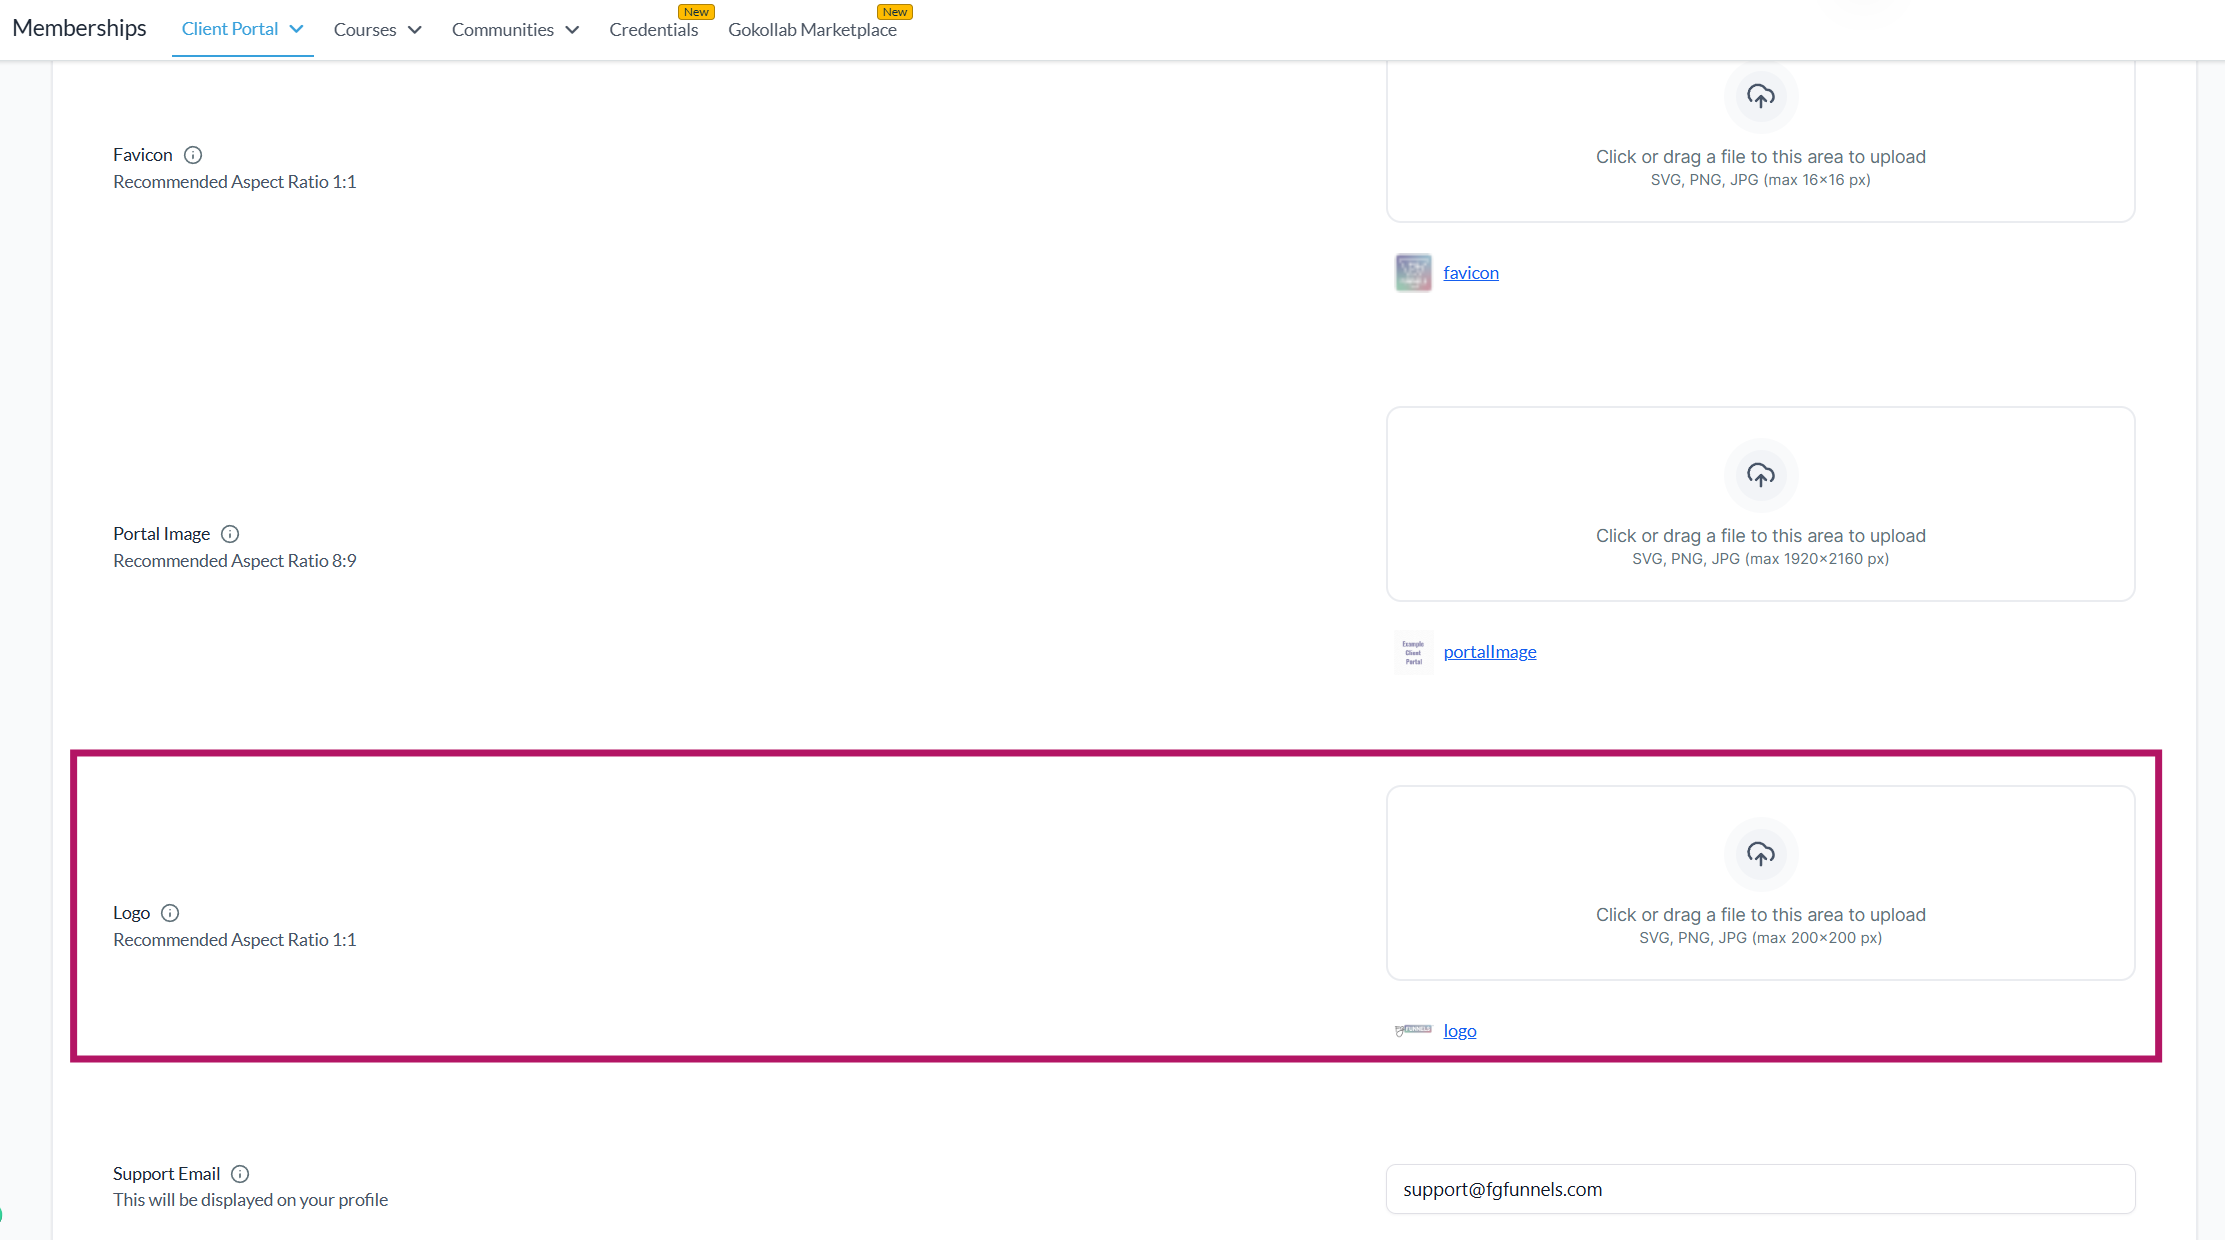
Logo: Upload your brand logo to be displayed on the portal. Like favicons, logos should be in a 1:1 aspect ratio, in SVG, PNG, or JPG format, with maximum dimensions of 200x200 pixels.
-
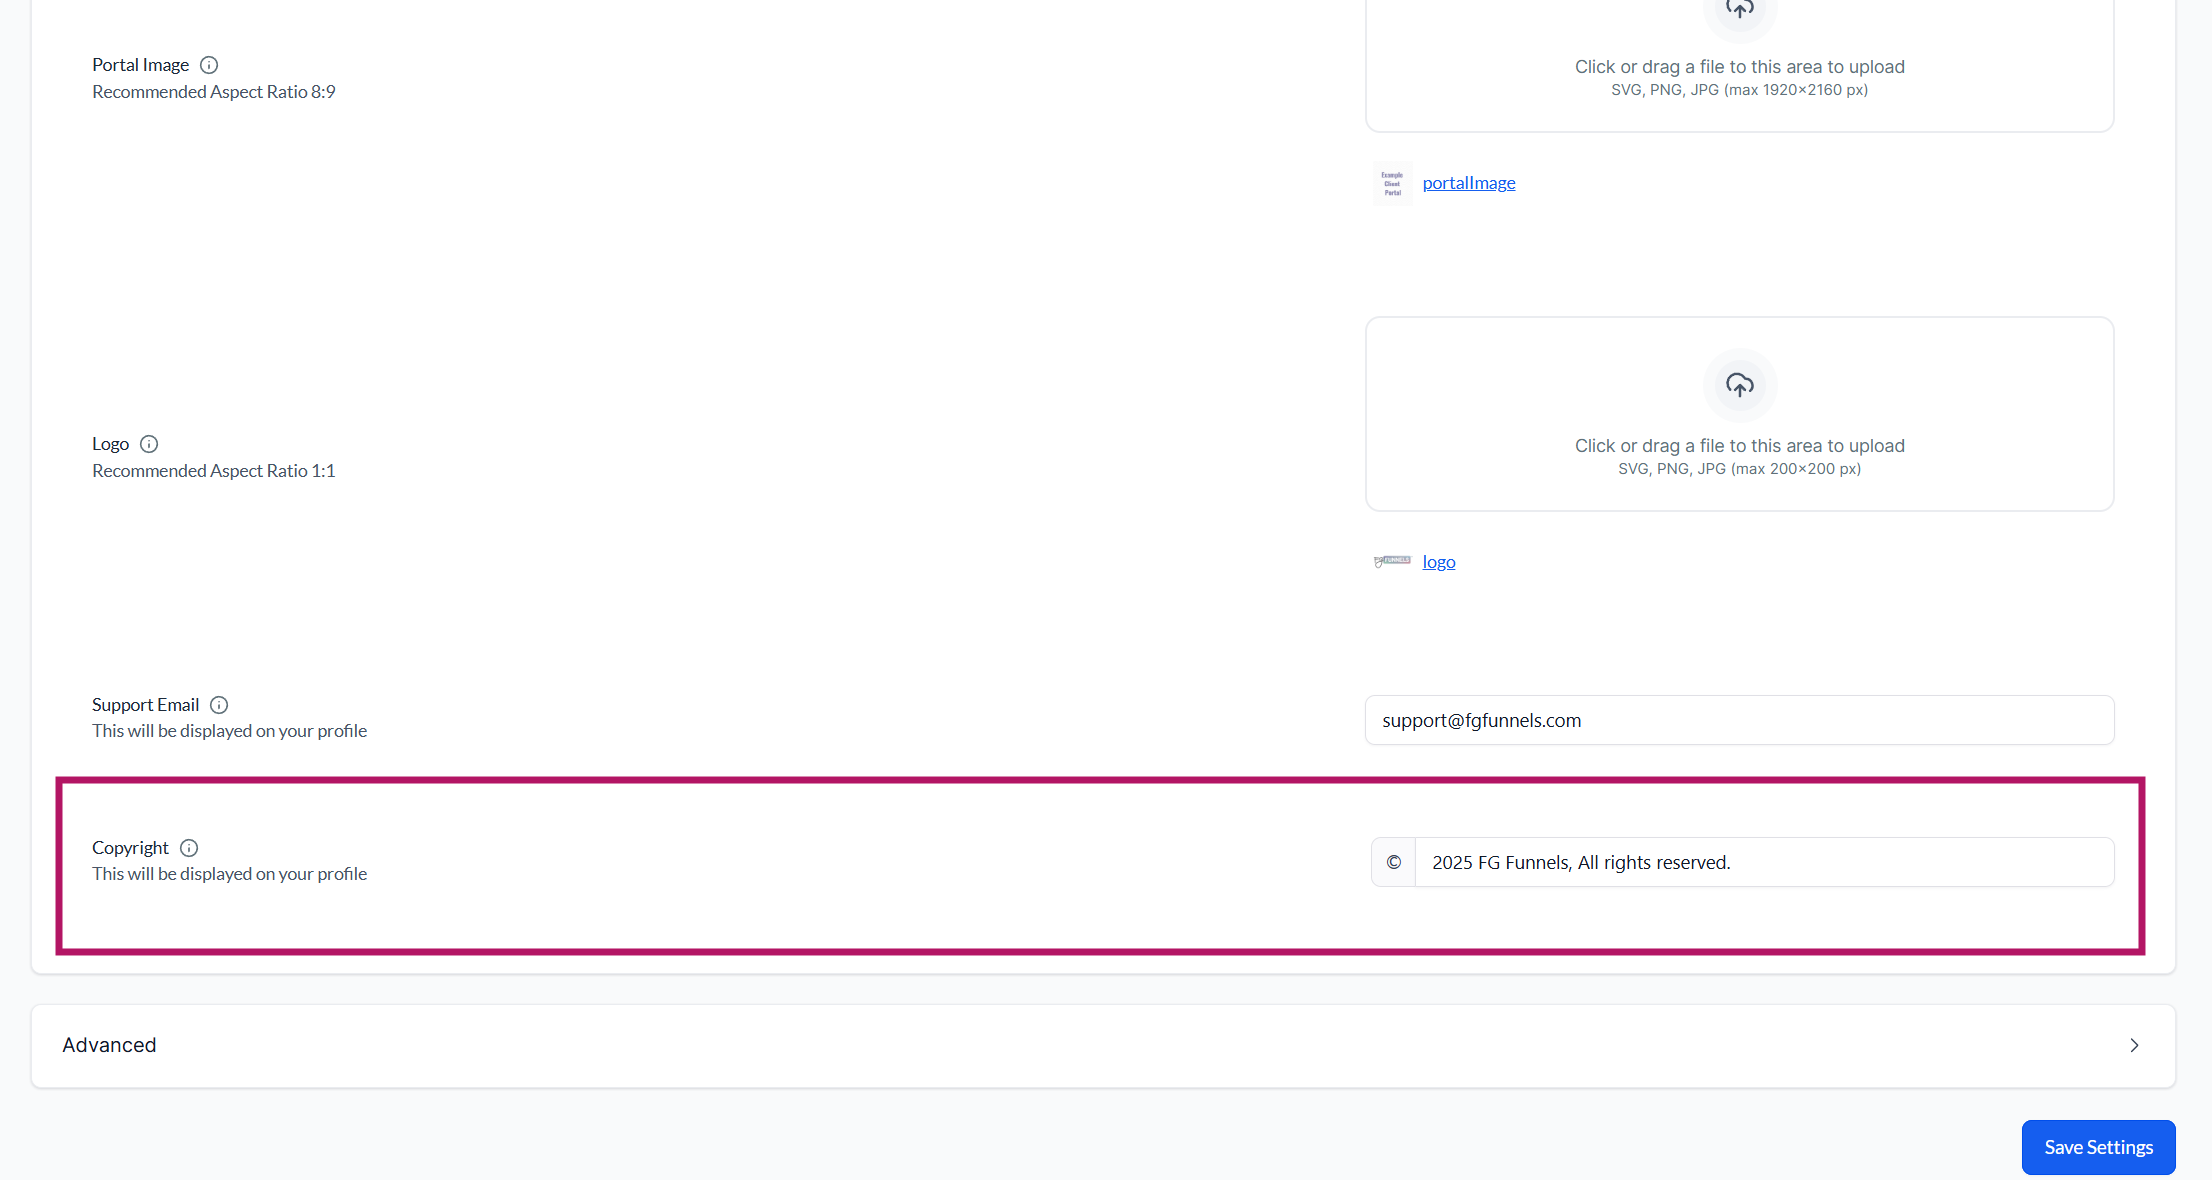
Support Email: Specify an email address your customers can contact for support or questions related to the portal.
-
Copyright: You can enter copyright information here. This is typically something like "© 2024 Your Company Name." It helps protect your content and establishes your company's claim over the content.
-
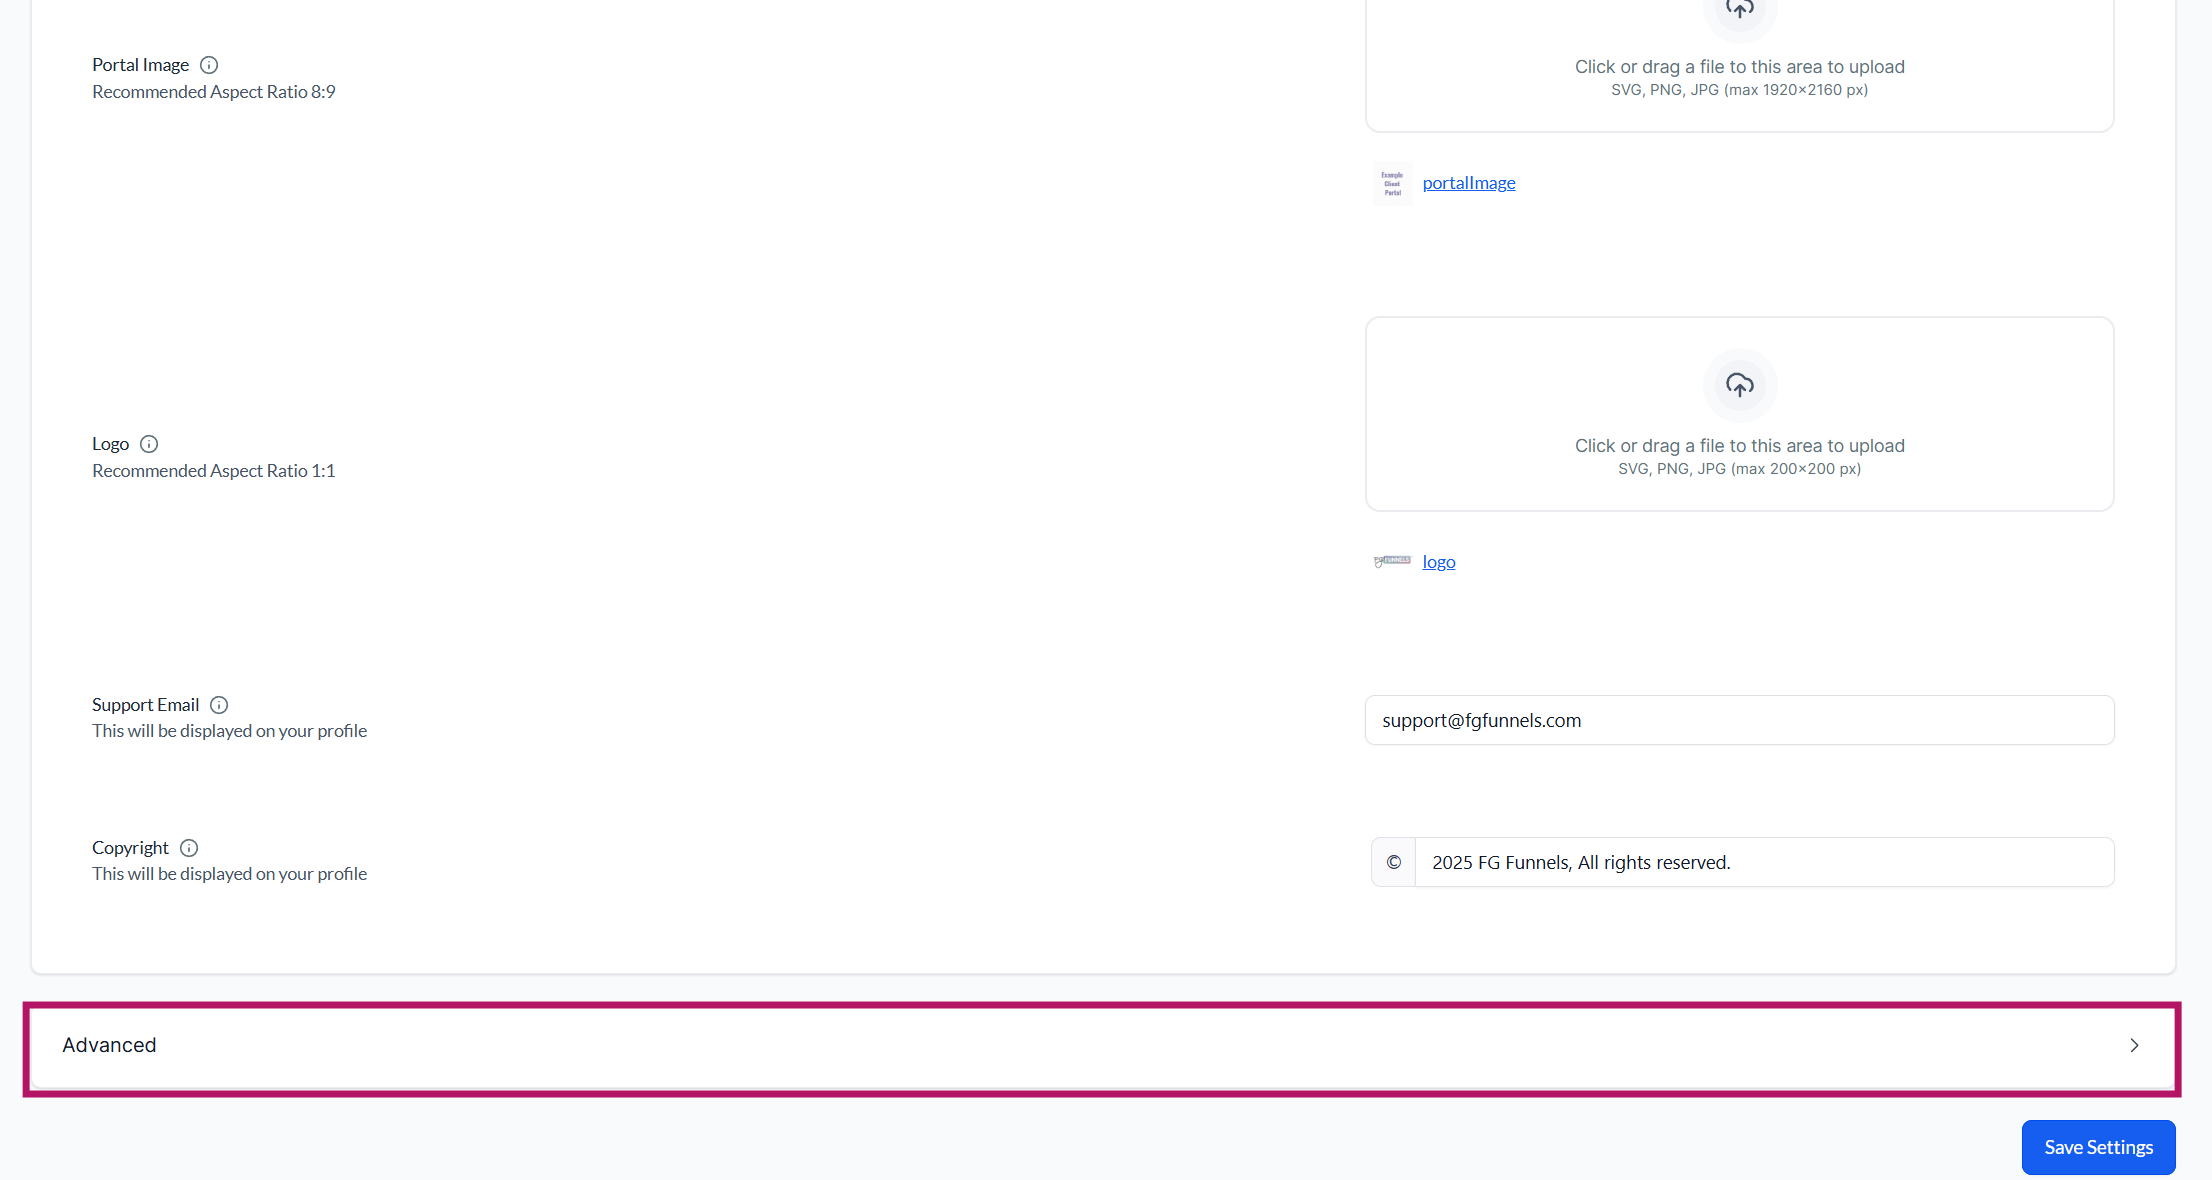
Advanced: If you want to add Custom CSS, JavaScript, or header or footer tracking code to your client portal, you can click on the Advanced tab to add the code.


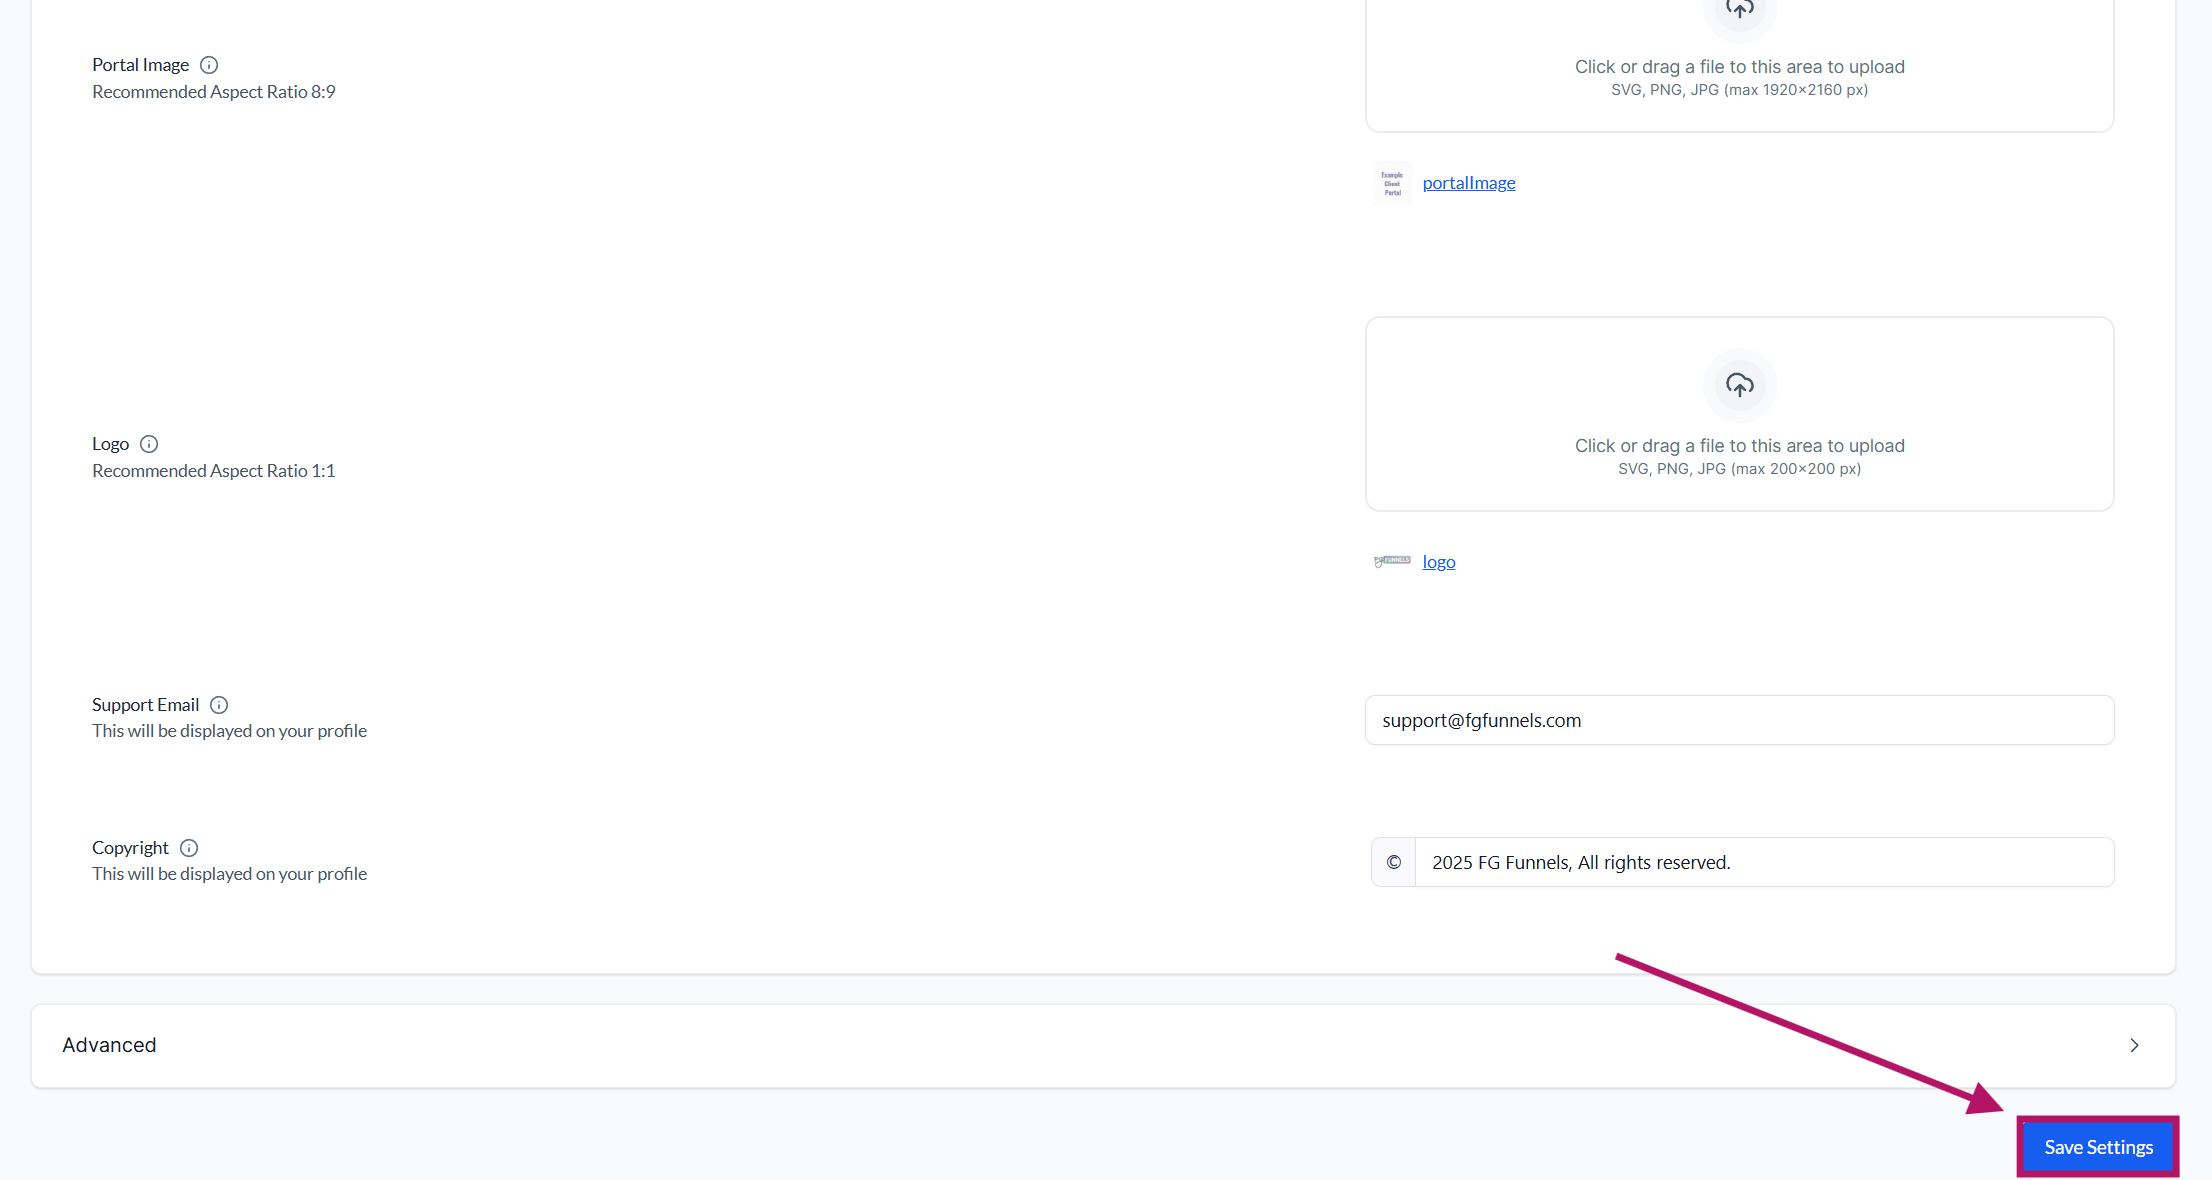
Save Settings: After making all the desired changes, don't forget to click "Save Settings" to ensure your customizations are applied to your client portal.
Invite Clients to Your Client Portal
The client portal is where your customers and clients will access their courses, communities and affiliate information. There are two primary methods to invite your clients to the portal:
Direct Invitation from Child Applications
Your portal includes various child applications or services, such as a membership course, community platform, affiliate program, etc. You can invite users to the client portal through granting access to courses, communities and affiliate campaigns directly.
Membership Course: You can use a workflow to grant access to an offer, using the Grant Offer Access action, which will in turn grant access to the client portal, if the contact is not already a member.
If your account is from before June 21st, 2023 and you are still using the old membership area, you can create your client portal domain and all existing usernames and passwords for your contacts will work both in the old membership area and in the client portal.
Community Platform: You can use a workflow to grant Community Access to a group, using the Grant Community Access action, which will in turn grant access to the client portal, if the contact is not already a member/
Affiliate Program: You can extend an invitation from the affiliate management system for your affiliates. Head to Marketing> Affiliate Manager> Campaigns> Edit Campaign.

Copy the signup link to share with people you want to invite:

This enables them to sign up as an Affiliate and access all their affiliate-related information through the client portal, such as their referral links, commission rates, and earnings.
Sharing the Client Portal URL
If you want to take a more direct approach or invite a large number of clients at once, you can share the URL of your client portal. You can easily copy this URL from the domain setup section of your client portal's settings by going to Sites -> Client Portal -> Settings -> Domain Setup

Once copied, this URL can be shared via email, text message, or any other communication channels you use to interact with your clients.
You might consider incorporating this URL into a welcome email or newsletter for new clients or posting it in an announcement on your main website or social media platforms.
Remember, your client portal is a hub for all your services. So, when sharing the URL, make sure to highlight the benefits and resources clients will gain by accessing the portal. This could include exclusive content, direct support channels, access to community discussions, and more.
FAQs
Q1: I've branded my client portal but the changes aren't showing up. What could be the issue?
Answer: It might be due to cache issues. Try clearing your browser's cache or try to view the portal in an incognito window. If the issue persists, please get in touch with our support team.
Q2: My affiliates are having trouble accessing their stats on the client portal. What should I do?
Answer: Ensure that the affiliates have the correct login details. Also, check if you've given them the right permissions to access their stats. If the problem continues, contact our support team for further assistance.
Q3: I've set up the DNS records for my client portal correctly, but it is not accessible. Why?
Answer: DNS changes can take up to 48 hours to propagate across the internet. It may not be reflected immediately if you've just recently made changes. If it takes longer than 48 hours, please get in touch with your domain registrar for support.
Q4: I want to customize the favicon for my client portal, but it's not uploading. What's the ideal format and size for the favicon?
Answer: The recommended aspect ratio for the favicon is 1:1. The favicon should be in SVG, PNG, or JPG format and not exceed 16x16 pixels. If your favicon meets these specifications and you're still facing issues, please get in touch with our support team.